Our service supports all popular audio formats, and you’ll typically receive the same format you upload. For example, if you upload a lossy MP3 file, you’ll receive a lossy MP3 file in return. 🤷♂️For best results, upload files such as WAV or FLAC to receive a nice audio quality master in return!
Understanding Audio File Formats
Choosing the right audio file format is essential for maintaining the quality of your music. Here are some of the best formats and their differences:
WAV (Waveform Audio File Format):
Quality: Uncompressed, high-quality audio.
Use Case: Ideal for professional recording, mixing, and mastering. Most common when distributing music.
Pros: Excellent sound quality.
Cons: Large file size.
FLAC (Free Lossless Audio Codec):
Quality: Lossless compression, retains original audio quality.
Use Case: Great for archiving when space is a concern.
Pros: Smaller file size than WAV with no loss in quality.
Cons: Not as universally supported as WAV.
MP3 (MPEG Audio Layer III):
Quality: Compressed, lower quality than WAV and FLAC.
Use Case: Suitable for streaming and casual listening.
Pros: Small file size, widely supported.
Cons: Loss of audio quality due to compression.
AAC (Advanced Audio Coding):
Quality: Better quality than MP3 at similar bit rates.
Use Case: Commonly used in streaming platforms like Apple Music.
Pros: Good sound quality, efficient compression.
Cons: Slightly less universal than MP3.
AIFF (Audio Interchange File Format):
Quality: Uncompressed, similar to WAV.
Use Case: Often used in Apple environments.
Pros: Excellent sound quality.
Cons: Large file size, less universal than WAV.
Conclusion🤷♂️
The most common file format to use is WAV, as it retains the original audio quality and is the favored format for music distribution. With Masterchannel, you can be ensured that your song will be polished and professionalized, and that the song will maintain the necessary standards for your use case.
Try uploading different audio file formats and compare the differences between a MP3 and a WAV file.
Why master your song using an AI tool like Masterchannel?
Using AI to master your music has some great benefits:
Efficiency: The AI works 24/7, so your tracks can be mastered quickly, anytime you need. This means you can get your music mastered quickly, meeting tight deadlines and releasing new music more frequently.
Consistency: AI doesn’t have preferences or biases towards any genre, so you can always expect a consistent, high-quality result. This reliability is crucial for maintaining a cohesive sound across your tracks, ensuring that each song meets industry standards. Whether you’re working on an album or a series of singles, the AI from Masterchannel help you achieve a polished, professional sound.
Competitive Edge: AI mastering gives your music a high-quality finish, helping it stand out and meet the expectations of playlists, radio stations, and listeners. It increases the likelihood of your music being appreciated by a wider audience.
Affordability: Traditional mastering can be costly, putting high-quality production out of reach for many. AI mastering offers professional sounding results at a fraction of the price, making it accessible for artists at any stage of their career!
Mastering your song with Masterchannel ensures your music sounds its best, every time! For independent artists, Masterchannel is a game-changer!
For a long time, AI mastering in general has been unable to compete with human engineers. But with the introduction of Masterchannel, this is changing.
Discover the Difference with Wez Clarke AI Mastering
When it comes to mastering your music, both standard mastering AI and Wez Clarke AI ensure your tracks sound great across all speaker systems and streaming platforms. They address technical issues in your mix, such as balancing frequencies and controlling dynamics.
However, Wez Clarke AI goes a step further. In addition to these technical adjustments, it adds a touch of the personal flair that Wez Clarke is renowned for, giving your music that extra polish and uniqueness.
Human vs. AI
Wez Clarke AI combines the precision of AI with the artistry of a top-tier mastering engineer. It captures the essence of Wez Clarke’s expertise while maintaining flawless technical execution, providing you with an AI mastering solution that gives you the best of both worlds.
Several other mastering services apply presets or filters to your music which often leads to a hit or miss situation as a preset or filter may not suit your music…
This is why we created Masterchannel with a more sophisticated approach, so it focuses on your song and only fixes what is necessary to be fixed in order to make your song sound great.
With Masterchannel, simply drag & drop your song, and our system will understand what needs to be done to make it shine. If the track has already been mastered, the system may barely touch it. If you upload a mix that needs a lot of polish, our system will roll up its sleeves and do more of the heavy lifting.
Let Masterchannel handle the final polish, so your music can sound as good as it deserves! 🎶
A common misconception about using Masterchannel to master your song is that it must be fully polished, and be a near perfect mix, before the song is mastered.
This belief stems from the traditional notion that mastering requires a human engineer to sound professional, which has been the default for most artists. Consequently, the cost of mastering a single track has been high, with multiple iterations often pushing expenses into the hundreds of dollars per song.
However, with the introduction of AI mastering services like Masterchannel, this is changing. Artists now have access to unlimited mastering sessions at no cost, without sacrificing quality, when using Masterchannel.
As a result, the initial mix does not need to be perfected before mastering with Masterchannel. Instead, artists can iterate on the mastering process throughout the production of a song, to make sure that the final quality is as good as it can be.
A typical scenario involves you uploading a song to Masterchannel, receiving back a mastered version from our AI, and comparing it to the original. If you want to adjust anything, such as enhancing the bass, you can make modifications in your Digital Audio Workstation (DAW) and re-upload the revised version.
After re-mastering, you can then evaluate the result and decide whether further iterations are needed. In this way, Masterchannel functions as your personalized AI co-engineer, empowering you to achieve your desired sound and ensuring confidence in your own productions.
For artists, listening is the natural way to determine if their songs have the quality they desire. But what should you do if you’re still unsure?
This is where our Music Analysis Tool, created by us at Masterchannel, comes into play. Our Music Analysis Tool provides accurate feedback on LUFS levels, Peak Level, and EQ Balance, ensuring that you reach your intended goals. But why are these indicators important?
LUFS Levels indicate how “loud” your song is and are crucial when uploading to platforms like Spotify. If your song is too “loud,” Spotify and other services may reduce its volume, potentially affecting its quality.
Peak level reveals how loud your song is at specific moments. If it isn’t balanced with the rest of the song, it can lead to clipping, which is something you want to avoid.
EQ balance assesses how well-balanced your track is, serving as an indicator of how it will sound on various streaming platforms and audio systems.
The Music Analysis Tool by Masterchannel offers a transparent means of understanding how your song was engineered before mastering and the adjustments made by Masterchannel. The ultimate goal is to make it sound as exceptional as possible while ensuring it meets the criteria set by streaming platforms. This way, you can always have peace of mind knowing that your song will sound great, regardless of the platform or listening device.
So you have produced your song, mastered it, and now it sounds great. But what should you do next?
We know you as an artist spend countless hours crafting and perfecting your songs, so the world can hear your masterpiece. And we understand that good sound quality is important. That is the reason why we developed Masterchannel, so you can have an easy-to-use platform that makes your song sound professional in just a couple of minutes.
However, in order for the world to hear your creation you still need to get it out there. At this stage you’ll need to decide whether you want to pitch it to record labels or release it independently. Each option has its own advantages, and it ultimately depends on your goals and aspirations as an artist.
Pitching
If you choose to pitch your music to record labels, several excellent services can assist you in reaching out to industry professionals. These platforms specialize in connecting artists with record labels, increasing your chances of getting noticed. Here are three notable services worth considering:
Trackstack is a premier platform that enables artists to submit their music directly to a vast network of record labels, producers, and music supervisors. With its user-friendly interface and comprehensive submission tracking system, Trackstack streamlines the pitching process, giving you a higher chance of catching the attention of industry gatekeepers.
Groover provides a unique platform for artists to promote their music to a diverse range of music industry professionals. Through Groover, you can submit your songs directly to record labels, radio stations, playlist curators, and more. This service enhances your visibility and increases the chances of your music being discovered by key decision-makers.
Boost Collective is a platform that simplifies the submission process for artists seeking exposure. It allows you to submit your music to a variety of curated playlists. With Boost Collective you can also track the progress as you go, providing you with valuable insight.
Distribution
If you decide to release your music independently without the backing of an external record label, there are several reputable services available to help you distribute your music effectively. These services allow you to maintain full control over your music while reaching a global audience. Here are three noteworthy options to consider:
amuse Amuse is a user-friendly music distribution service that enables independent artists to release their music on major streaming platforms such as Spotify, Apple Music, and Deezer. With Amuse, you retain 100% of your rights and royalties while benefiting from its intuitive analytics and transparent revenue reporting.
dig dis! (Digital Distribution) is a comprehensive music distribution service catering to independent labels, so if you are running your own label within the electronic genre this is a good place to start.
They offer global digital distribution to all major platforms, including streaming services, online stores, and social media platforms. dig dis! provides flexible pricing options, detailed reporting, and support for artists at all stages of their careers.
TuneCore is a trusted name in independent music distribution, empowering artists to distribute their music worldwide. With TuneCore, you can distribute your music to a wide range of platforms, including streaming services, online stores, and social media platforms. Additionally, TuneCore offers valuable features like publishing administration, promotional tools, and detailed sales analytics.
Ultimately, the decision to pitch your music to labels or release it independently is a personal one that depends on your artistic vision and career goals. Mastering your music with Masterchannel is an excellent first step toward achieving professional sound quality. But whichever path you choose, utilizing these services can greatly enhance your chances of success in the music industry.
And whatever you end up doing; remember to enjoy the process!
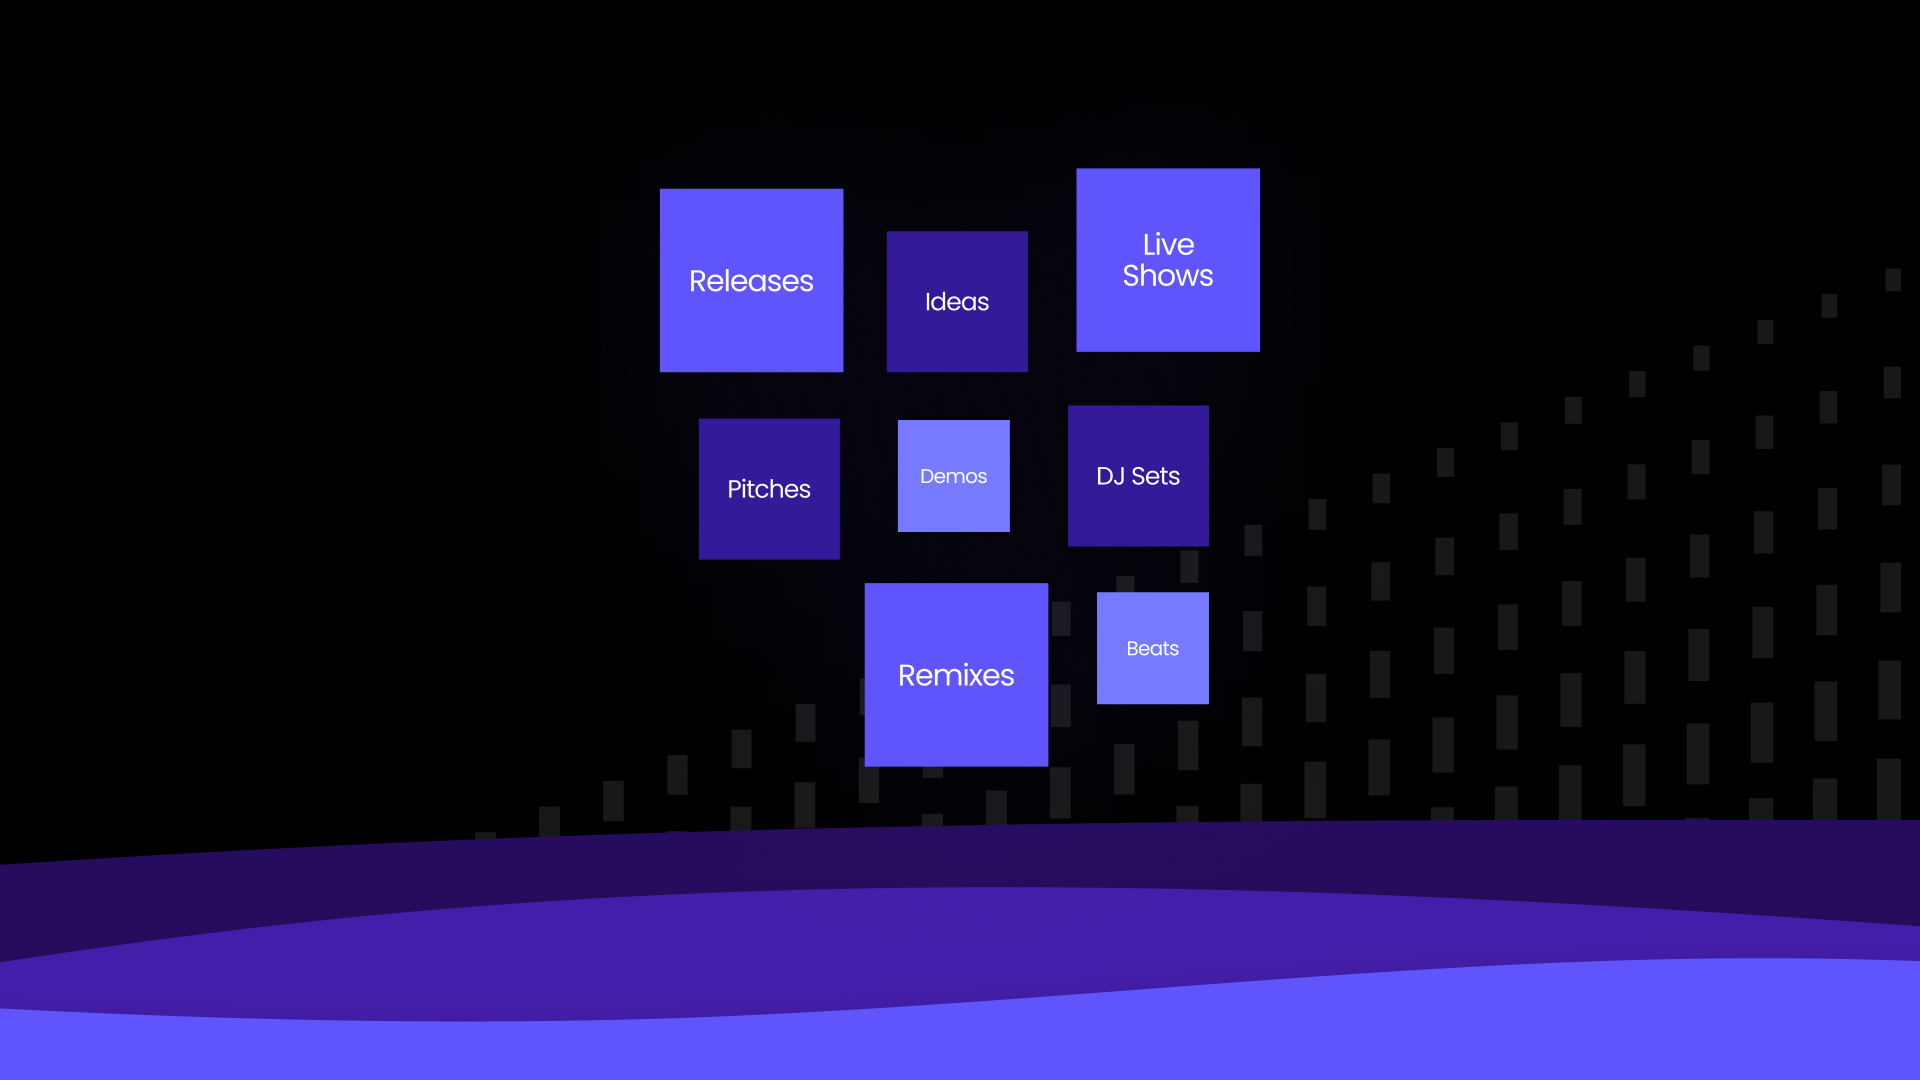
Given the cost and limited availability of mastering engineers, mastering has traditionally been used as a final touch prior to releasing your music physically through formats like CDs and vinyl or digitally to streaming platforms and online stores. However, the unlimited availability, cost efficiency and simplicity of automated mastering has opened up the door for mastering to be available beyond the final stage for your official releases, providing you with the opportunity to optimize the sound quality for all of your music, from initial idea to final release. We break down the most popular usage areas that the Masterchannel community use our mastering tool for:
Test Your Ideas
Are you trying to play your ideas through the speakers in your car, but they are just not loud enough for you to truly feel the song? Gone are the days where you need to apply a heavy limiter or OTT at the end of your master chain. Our mastering tool will handle the volume for you so you can confidently play them for your friends anywhere and anytime.
Demos & Pitches
Sound quality plays a vital role in the listening experience. When your song has developed from the idea stage to a full blown demo ready to be heard by the industry, make sure that the sound quality of your demo is as good as it gets. Mastering your demo will make the dynamics clearer and make it easier to separate the different elements of your track, which again will make it easier for you to hear where the song is in the process. It will also make it easier for listeners to provide you with useful feedback on the demo, so you can do the last necessary tweaks before finishing off the song.
Ane Brun uses Masterchannel in her writing process:
”When I’m working on a demo, I use Masterchannel before I present the song to someone else, because it gives me a better sense of where the song is in the process”. – Ane Brun, Norwegian Grammy Winner
Are you pitching demos to a label, publisher or an artist you hope to land a collaboration with? Make sure your demos sound as good as they possibly can to increase the chances of a successful pitch.
Christian Ingebrigtsen, A1 member and BRIT Award Winner highlights:
“Masterchannel gives you a real good sense of the sound people out there are looking for. It’s perfect for getting a track sounding great for a pitch”.
Songwriting Sessions
Masterchannel can be a great tool during the writing process. The outcome from a songwriting session might not be the final product for the world to hear, nevertheless you want the result to sound as good as possible before sending it off to your manager or label. Mastering it with Masterchannel at the end of your session guarantees a great result and listening experience within minutes.
Are you a beatmaker selling your full length beats on various marketplaces? Make sure your beats have the best possible quality to increase your sales without the mastering process eating up your income. Automated mastering is a cost-effective way to increase the sound quality of your beats.
Releases
When you have finished your song and are ready for the world to hear it, it is important that your song sounds as good as possible across all platforms and devices. Masterchannel follows industry standards for delivery to all platforms and optimizes your music to sound the best across all devices, whether it’s on your headphones, in your car or through your speakers. Master your music to increase your chances of getting picked up by industry players such as playlist curators, radio etc.
Live Shows
Rapper Linda Vidala uses Masterchannel for her live performances:
“Not only can I master my next release in a quick and easy way, but I can also master songs that I want to test with a live audience”. – Linda Vidala, Multi-Platinum Rapper
When playing live shows you might need to master unreleased songs to test with a live audience, or perhaps you use audio samples in live performance settings. We’ve got you covered. Mastering your live set or samples through our mastering tool guarantees you a state-of-the-art mastering result within minutes so you can spend your time planning the other aspects of your live performance.
Audio for Socials
Want more views on your TikToks, Instagram Reels or YouTube Shorts? Enhancing the sound quality of the audio in your videos will increase your chances of exposure. Perhaps you want to tease your song on TikTok before releasing the full version on streaming platforms? Mastering your track prior to uploading your video will increase your chances of a successful promotional strategy.
Masterchannel: The Mastering Solution to Your Music
Masterchannel just launched subscription, offering unlimited mastering to make sure that you sound the best at every stage of your music creation process. Master all of your music for a special intro offer of only 25$/month.
Music production is a field where you always have to adapt to a quickly changing environment. Whether you’re a beginner or an advanced producer. These 10 tips will help you to improve your music production skills!
1. Don’t overcrowd your room
Be sure not to fill the space with unimportant elements that do not contribute to the context or character of the song. Be clear about which 3-4 tracks you really need for the song.
If you have vocals, they are usually the most important part of the song. Therefore, all elements should support the vocals. Remember though: these are rules and rules are there to be broken.
Do your songs sometimes feel empty? Try using vocal adlibs or chops to fill the space and put your vocals in a new light. Adlibs can really bring seasoning to a song. Remember: Too many ad libs can oversaturate the song!
Adlibs are an improvisatory vocal recording technique and refer to signature impulsive vocal effects. A good example is “Mood (feat. iann dior)” by 24kGoldn. Notice how subtle adlibs add to the overall energy towards the end of the track.
Adlibs should sound different from the main lead vocal. Make sure to process them differently and on a separate channel.
3. Repurpose elements
You can try to creatively repurpose elements that you already have. It may be a synth arp, a vocal melody phrase or a bass sound. Get creative with those elements to create sounds that are coherent with your already existing production.
Try resampling a certain part, reverse it, cut up the sample, pitch it, throw an effect on the channel and see what you get.
4. Layers and layers of the good stuff
Lacking depth and thickness in your tracks? Then try layering!
Pick one instrument (i.e. Juno synth)
Pick a complementing instrument or sound (i.e. Serum soft pad)
Send all instruments to one bus
Try applying slight compression to the bus. Notice how the compressor glues the different elements together.
Bus compression adds a sense of “glue and punch” to the mix and creates a cohesive feel between the different tracks.
5. Use references
Ever used reference tracks? If not, you should definitely give this a try. Listen to a specific element in a song you like. Compare that element to your own song and then try to improve your element.
Here is a list of examples you can reference when listening to a song:
The sound of the snare
Vocal production
Arrangement
Percussion fills
Mix
You should not reference more than two elements from the same song, otherwise you might end up copying the whole song.
6. Contrast and color your arrangements
Music lives on contrasts. Loud and soft, foreground and background, left and right, small space and big space. Create tension by changing the instrumentation in the different sections of your song. A good way to create contrast in your arrangements is to take away sounds.
Want to turn down the energy? Try removing drums and bass as a start!
Listen to “New Rules” by Dua Lipa and notice how the instrumentation changes in each section.
7. Automation as a creative tool
Automations are often what differentiate a beginner production from a professional music production. You can create a lot of interest with minimal sounds by using automations! Your songs will sound more dynamic and keep the listeners engaged.
Common elements to automate:
Gain/volume
High pass / low pass
Pan (left/right)
Dry/Wet of Delay or Reverb
Automation lines in Ableton Live 11. Utiliy Gain, Low pass filter and Dry/Wet signal of the Raum Reverb automated.
Automations can help to introduce new elements more softly or to move them into the background.
8. Collaboration
Are you collaborating frequently? If not, then this might help you a lot! When collaborating you can learn a lot about how other people work and learn their tips and tricks. Also you can expand your network within the music industry which may be beneficial for your career.
You can collaborate on various fields:
Co-producing a song together
Writing session with a topliner
Finish a song someone else started
Produce a topline from someone on TikTok
How to find collaborators you ask? You can reach out to artists or producers you like very easily these days. Here are a few platforms, you can check out to find like-minded people:
Facebook (music production groups for example)
Instagram (reels)
Discord (Producer discord servers: Kenny Beats, Ian Kirkpatrick, KREAM, …)
TikTok
Reddit
Remix Competitions
9. Check your mix in mono
As many people today listen on portable sound systems or even their phones it is important to check your mix in mono. While producing simply turn the signal into mono and route it to the left or right channel.
Also make sure to check your mix on different sound systems while producing so you understand how your music sounds outside of your known sound environment. Systems and places to check are:
Airpods / Airpods Pro
Over-ear headphones
Laptop speakers
Car
Portable speaker (JBL, Bose, Sonos, etc.)
Remember: Bass frequencies are not linear, when you turn the volume up and down. Make sure to listen to your track very quietly and see if it still has the energy you are looking for
10. Don’t overheat your bounce
Make sure to bounce your mix correctly before mastering it! Check out these 3 simple steps by Matoma to prepare your mix for mastering.
When you are happy with your mix you can upload it to Masterchannel for mastering. Get your first mastering session for free when you sign up for an account.
Make sure your mix doesn’t peak above 0 dBFS, which is the the clipping point for a signal in a digital audio product.
Unlike analogue distortion that gives that nice and fuzzy feeling, digital distortion is just brutal and bad. For Masterchannel to have a nice mix to work on, leave a fair bit of headroom when bouncing the file.
Instead of just turning down your master fader, disable some of the mastering plugins before export. Any maximizer, limiter or compressor that’s just there to make it loud should be bypassed.
Why? Because when you have already pushed the limits, there is no room for mastering your mix without degrading side effects. It will become loud enough, just trust us.
Most workstations have good peak metering. Try to find it in yours and set to True Peak metering and avoid going above 0. Make sure you add it as the last one in the chain. Here is an example from Logic, where you can insert Level Meter from the Metering sub-menu.
Step 2 – Keep it in the family
The export sample rate should be identical to the sample rate of your project.
Sample rates come from two families: 44.1kHz and all its multiples (88.2, 174.4, 352.8), and 48kHz (96, 192, 384).
What you want is to avoid sample rate conversions, and you do this by bouncing your mix with the same sample rate as your project settings.
Example of Logic project where sample rate is set to 96 kHz. In this case, it makes sense to bounce the mix in 96 kHz. Here, the sample rate in the bounce settings are set to the same as the project. In this case, 96 kHz. Or 96000 Hz in this window.
Also, make sure you work in 16 bit or higher. Why? More bits means a lower noisefloor to your project and allows for less noise introduced when using outboard equipment or regaining sources.
Step 3 – Use your ears
Listen.Never forget to listen. Did you remember to unmute the tambourine or backing vocals? Did you just place things in the mix using panning, or did you also move them to the back or front using reverb, pre-delay and other tricks? Is everything in its right place?
It is well worth taking the time to listen in different environments and on a variety of devices. Try to listen in a car, on earbuds, small bluetooth speakers and really good hifi systems. Each situation will reveal new things in your mix.
Use your ears and make sure you are happy with your mix. Make a decision and call it done. Upload to Masterchannel and in an instant you will have your master back.
If you want to change something in the mix after mastering, go back to your Digital Audio Workstation, make the change and reupload your final mix free of charge.