When it comes to mastering a song, there are many ways to go about it. In this article, we will provide some alternatives and break down what each path actually means financially for you as an artist and music producer. Are you ready? Let’s go!
There are typically three ways people master their music:
- They do it themselves.
- They hire a human engineer.
- They use a digital service.
While there is no definitive answer on which option is “best,” each comes with its own restrictions and price points. Let’s break them down.
Do it yourself
If you choose to master your own song, you will typically need one or more plugins in your DAW. You have the choice of building your own mastering chain or using an “all-in-one” suite.
Option A: Building a custom chain Here are some of the most common plugins (with average prices):
- EQ: FabFilter Pro-Q 3 ($169–$199) or Softube Curve Bender ($299).
- Limiter: FabFilter Pro-L 2 ($199), Sonnox Oxford Limiter ($199), or Weiss DS1-MK3 ($275).
- Compressor: Shadow Hills Mastering Compressor ($149) or TDR Kotelnikov GE ($50).
- Saturation/Warmth: Sonnox Oxford Inflator ($156), Black Box HG-2 ($149), or Gold Clip ($25/month).
If you build your own chain with these four steps, the price typically starts at a minimum of $443.00.
Option B: All-in-one suite The most common industry standard is:
- iZotope Ozone 12: ($399)
If you prefer a single-plugin solution, the entry price is approximately $399.00.
Hire a human engineer
If you prefer to work with a professional engineer, you have a wide range of options and price points.
- Freelance (e.g., Fiverr): Prices typically start around $50+ per song. The downside is that it can be difficult to gauge their true skill set or consistency.

- Premium Facilities: You can go through world-renowned studios like Abbey Road, Metropolis, or Sterling Sound. If you want a premium engineer at these facilities, here is what it generally costs:
- Abbey Road Studios: $200 – $325+ per song.
- Metropolis Studios: $160 – $260+ per song.
- Sterling Sound: $400 – $600+ per song.
The Challenge: Beyond the high cost, these engineers often prioritize established artists and labels to protect their own reputations, making it difficult for emerging artists to get booked.
Use a Digital Service to master your song.
A choice that has become increasingly popular is using a digital service. This is a “middle ground” between DIY and hiring a top engineer, offering professional results at a much more accessible price point.
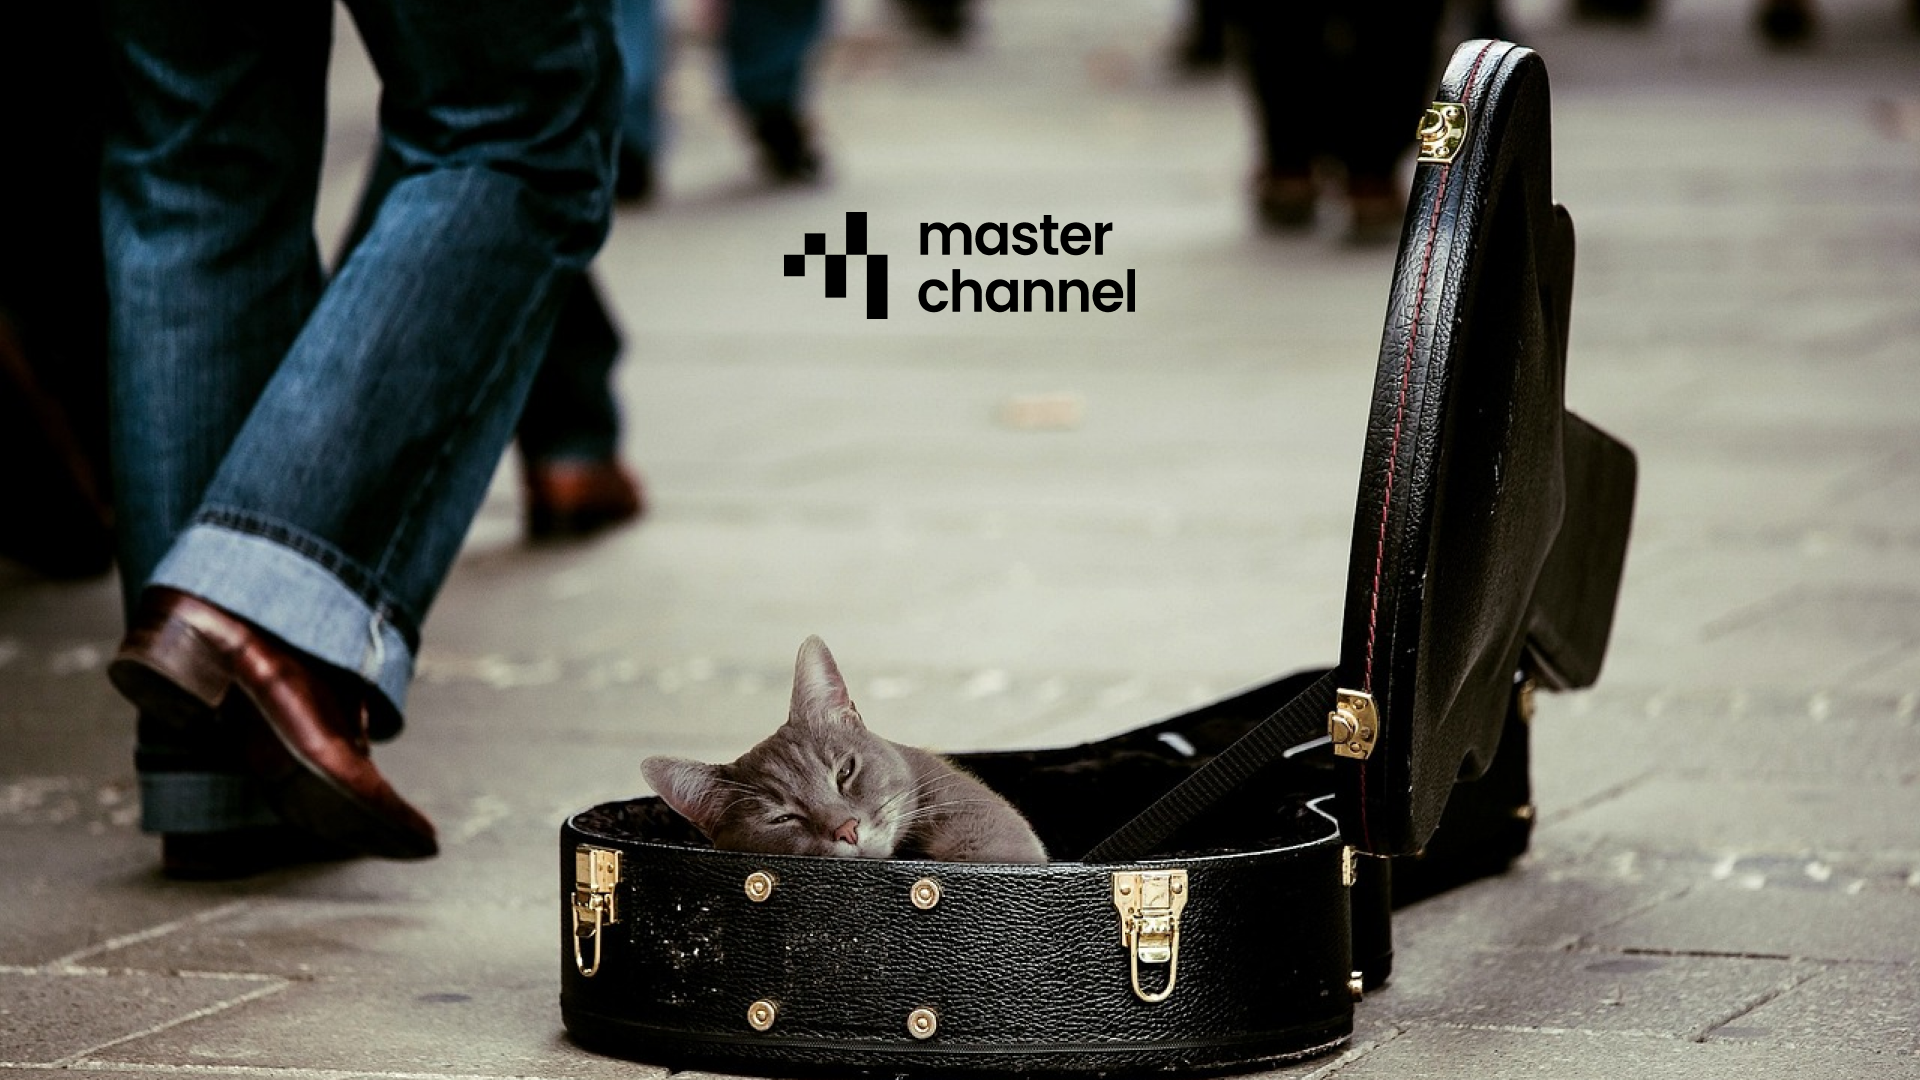
A key player here is Masterchannel, an automated service known for providing “human-like” mastering that ensures your song sounds authentic and professional.

Masterchannel offers several tiers:
- Artist Tier: $15 – $25 per month for unlimited mastering.
- Professional Tier: $19 – $29 per month for unlimited mastering. This includes access to Wez Clarke AI, a service that gives you access to the digital clone of Grammy Award-winning engineer Wez Clarke.
Conclusion
Regardless of your preference, the most important aspects are time management and efficiency.
- DIY: Offers the most control but costs the most time (and a significant upfront investment in plugins).
- Human Engineer: Provides a standard pro setup but comes with a hefty price tag and scheduling hurdles.
- Digital Service (Best Option): Creates an optimized chain for your specific song instantly and at a much lower price.
The choice is yours, but if you want the best result possible without breaking the bank, Masterchannel is an excellent place to start. You can test it out by clicking the button below!