Author: christian@masterchannel.ai

  • How to create amazing DJ sets for YouTube!

    How to create amazing DJ sets for YouTube!

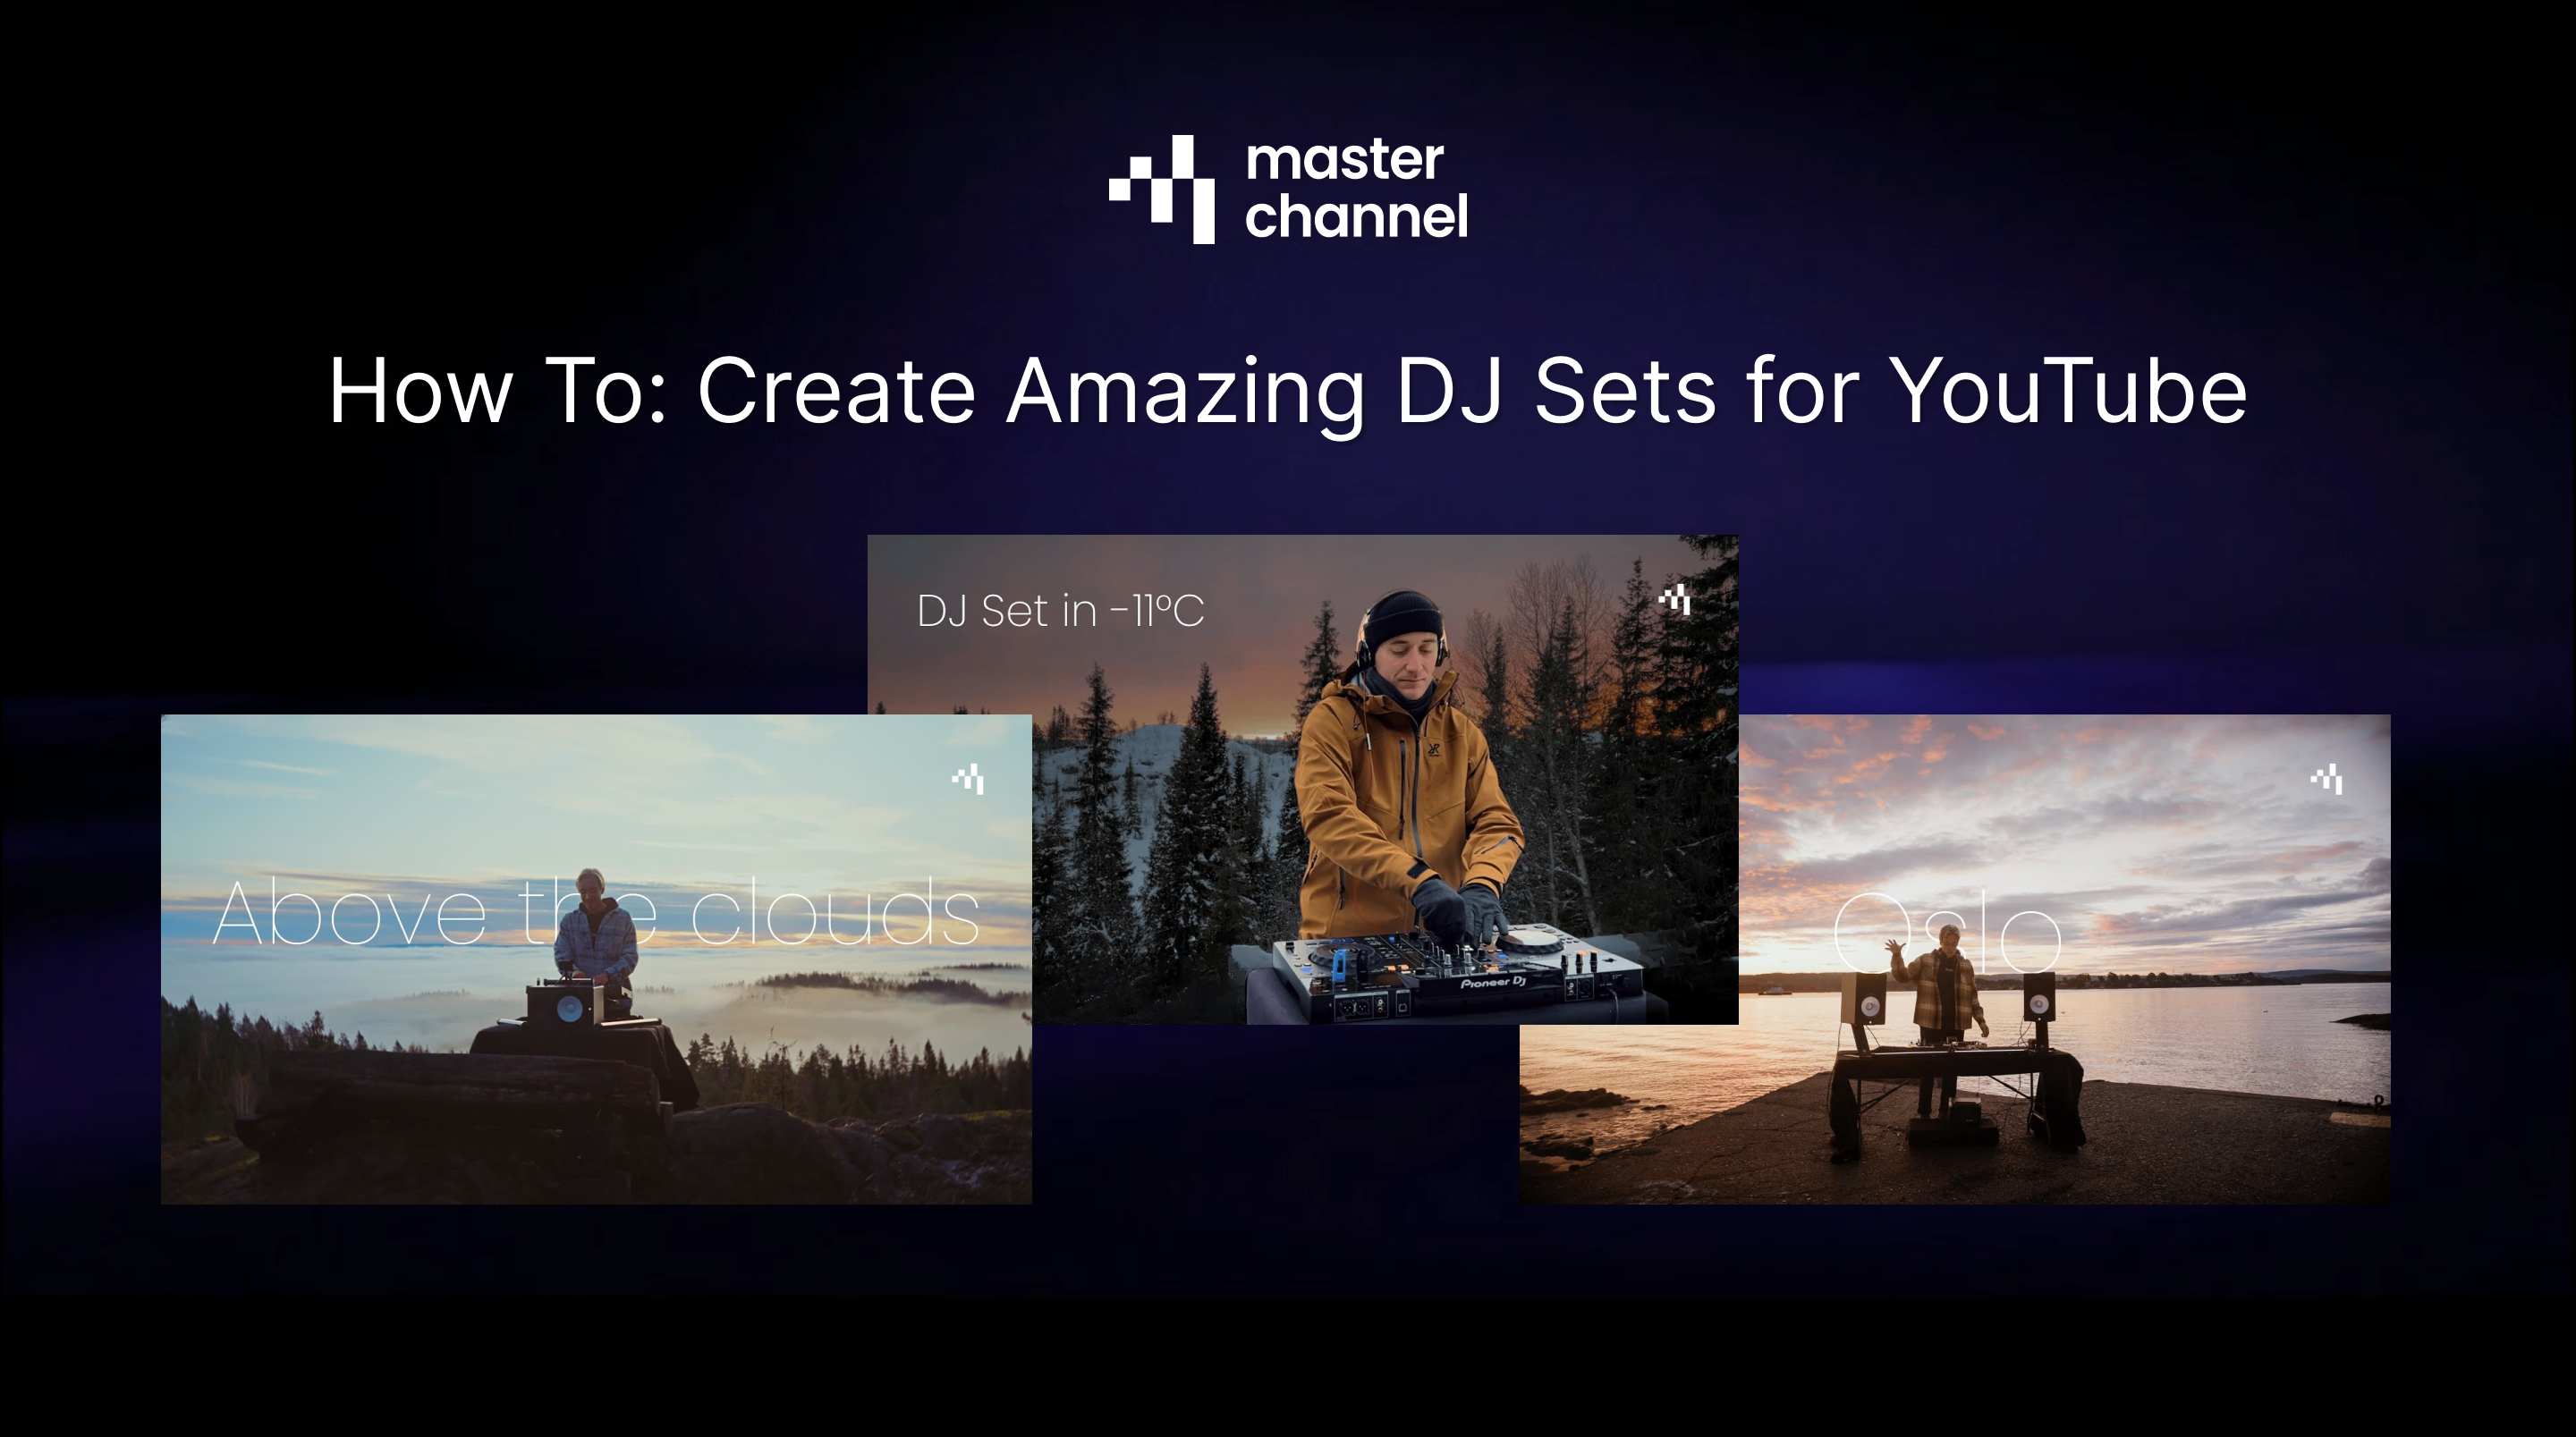
    This year, we at Masterchannel have recorded three DJ sets, each in it’s unique location highlighting the beauty of Norways landscapes. But creating this video can be done by any DJs, so today we’re breaking down how we did it!

    Preparing the music

    1. The first thing we did was creating a Spotify playlist with songs we thought could fit the vibe we wanted. In the playlist we aimed for 40-50 different songs.
    2. The second thing we did was to download the songs. Here you can use services like Beatport, Traxsource or other pay-per-song platforms. You can also search for free downloads on SoundCloud or YouTube as their are plenty of artists releasing their music for free, through downloadgates.
    3. After downloading the songs, we used Rekordbox to sort the songs, find the BPM and key and see what songs that transitioned well together. Here, we aimed for DJ sets that lasted between 30 and 40 minutes which typically ends up as a set with 9 to 12 songs.

    Finding the location

    1. After we had our DJ set, it was time to find a proper location to film at. We aimed for places where few people would show up, and in 2 out of 3 sets we recorded it as a sunrise set for that specific reason. Here, we used Google Maps to find locations that checked out certain criterias:
      • It should be located so we actually got the sunset / sunrise. If you record a sunrise DJ-set, you need to film to the east. If you record a sunset DJ-Set you need to film to the west.

    Recording the DJ set – Filming

    1. After finding a location and having the DJ set prepared, it’s time to film it. We had multiple cameras in our shots, as it creates a better vibe when you can switch between different angles.
      • You can e.g. use a Go-Pro or a phone to film yourself from straight forward.
      • You can use a phone or a more wide angle camera to film the DJ and landscape.
      • You can bring a friend to film some hand-held shots as this creates a more dynamic vibe.
      • If you have a drone, that’s an extra plus for those hovering landscape videos.

    Recording the DJ set – Music

    1. In our DJ sets, we used a pioneer mixer which is fairly easy to record with. It can be wise to bring two USB sticks so you have one you play music from and one dedicated to recording.
    2. Click record before you start the play you first song and then play throught the whole set. The DJ set will then be recorded on your USB stick, and can be exported to your computer afterwards.

    Post-production

    1. After you have recorded your DJ set, make sure that you upload it to a service like Masterchannel so it can be fully mastered. That way it will sound much better on YouTube.

    1. To edit the videos, use a software like CapCut. Here, you’ll drag & drop in your video files, the Masterchannel mastered DJ set, and then you can start edit in the way you like.

    We hope this is helpful and here’s our DJ sets for inspiration:

  • A Quick Guide to Getting Your Music on Spotify

    Spotify is the world’s largest music streaming platform, and a presence there is essential for any artist. However, unlike some platforms, you cannot upload your music directly to Spotify.

    To get your music on Spotify, you must use a digital music distributor. This guide covers the preparation, the technical specs Spotify requires, and how to get your track ready for a professional release.

    Getting on Spotify means uploading to a distributor first. Here is the general process.

    1. Choose Your Distributor You need a service to act as the “middle-man.” These companies send your music to Spotify (and hundreds of other stores) and collect your royalties. Popular choices include:

    • TuneCore
    • amuse
    • Symphonic
    • Ditto Music
    • Horus Music

    2. Get Your Assets Ready Before you log in to your distributor, have these three things:

    • Your Final Mastered Audio File: A high-quality WAV file.
    • Your Square Album Artwork: A 3000×3000 pixel JPG or PNG.
    • Your Metadata: All your song credits (title, artist, songwriters, etc.).

    3. Upload to Your Distributor Log in to your chosen distributor and create a new release. You will upload your audio, artwork, and fill in all the metadata here.

    4. Set a Future Release Date This is the most critical step for Spotify. Set your release date at least 2-4 weeks in the future. This does two things:

    • It gives the distributor time to process and deliver your song to Spotify.
    • It gives you time to pitch your song to Spotify’s editorial playlists.

    Your distributor will enforce these rules because Spotify requires them. If your files don’t meet these specs, they will be rejected.

    Audio Requirements:

    • Format: WAV (lossless).
    • Sample Rate: 44.1 kHz
    • Bit Depth: 16-bit or 24-bit.

    Artwork Requirements:

    • Proportion: Exactly Square (1:1)
    • Size: 3000 x 3000 pixels (Recommended standard)
    • Format: JPG or PNG

    Mastering is the final, critical step before distribution. It ensures your song sounds polished and competitive, which is especially important on a platform like Spotify.

    Here’s how Masterchannel optimizes your music for a global release via your distributor:

    • Tailored for Streaming: Masterchannel’s AI-powered mastering is specifically designed with streaming platforms in mind. It optimizes your track’s loudness to the standards of services like Spotify, ensuring your song sounds consistently great everywhere.

    • Preserving Quality, Enhancing Power: You can upload your high-resolution audio file (e.g., 24-bit, 44.1kHz WAV) to Masterchannel and receive a professionally mastered file back with the same specifications.

    • Unleash Your Sonic Potential: The mastering process isn’t just about volume. Masterchannel analyzes and enhances the entire frequency spectrum, improves stereo width, and manages the dynamic range to make your music feel more alive and engaging for the listener.

    • Confidence in Your Release: By mastering with Masterchannel, you can be confident that the file you’re delivering to your distributor is the best it can possibly be. This professional touch ensures your music stands shoulder-to-shoulder with major label releases, giving your artistic vision the high-quality sound it deserves on the world’s biggest streaming platform.

    Before you upload to your distributor, give your music the professional polish it needs to stand out on Spotify.

  • Uploading Your Music to LANDR – What To Know

    LANDR offers a robust music distribution service to get your tracks on Spotify, Apple Music, and over 150 other platforms. A successful release, however, depends on a perfect upload.

    This guide covers the essential steps for LANDR’s distribution process, the technical specs you must follow, and how to prepare your track for a professional release.

    1. Get Your Assets Ready Before you start, have these three things:

    • Your Final Mastered Audio File: LANDR prefers high-quality WAV, FLAC, or AIFF files.
    • Your Square Album Artwork: Must be high-resolution (3000×3000 pixels is recommended).
    • All Your Metadata: This includes your artist name, song title(s), release date, genres, and all collaborator/songwriter credits.

    2. Create Your Release

    • Basic Info: Enter your Release Title, Artist Name(s), and Label Name.
    • Artwork: Upload your prepared artwork file. LANDR’s uploader will check if it meets the specifications.
    • Add Tracks: Upload your mastered audio files.
    • Edit Track Info: For each track, you must enter the title, genre, language, and detailed songwriter/contributor credits. This is crucial for royalty payments. LANDR will automatically assign an ISRC code if you don’t provide one.
    • Choose Stores: Select the platforms and territories where you want your music to be available.
    • Set Release Date: It is highly recommended to set your release date at least 2-4 weeks in the future. This provides a buffer for store approval and, most importantly, allows you to pitch your song to editorial playlists (like on Spotify for Artists).
    • Review & Submit: Double-check every single detail—artist names, track titles, and artwork before submitting.

    Audio Requirements

    • Format: WAV, FLAC, or AIFF (Lossless formats are strongly preferred over MP3).
    • Sample Rate: 44.1 kHz
    • Bit Depth: 16-bit or 24-bit.

    Artwork Requirements

    • Proportion: Exactly Square (1:1).
    • Size: 3000 x 3000 pixels (recommended).
    • Format: JPG or PNG.

    Mastering is the final, critical step before distribution. Using Masterchannel ensures your music sounds professional and competitive.

    Here’s how Masterchannel optimizes your music for a global release via LANDR:

    • Tailored for Streaming: Masterchannel’s AI-powered mastering is specifically designed with streaming platforms in mind. It optimizes your track’s loudness to the standards of services like Spotify and Apple Music, ensuring your song sounds consistently great everywhere without triggering their loudness normalization penalties.

    • Preserving Quality, Enhancing Power: You can upload your high-resolution audio file (e.g., 24-bit, 44.1kHz WAV) to Masterchannel and receive a professionally mastered file back with the same specifications.

    • Unleash Your Sonic Potential: The mastering process isn’t just about volume. Masterchannel analyzes and enhances the entire frequency spectrum, improves stereo width, and manages the dynamic range to make your music feel more alive and engaging for the listener.

    • Confidence in Your Release: By mastering with Masterchannel, you can be confident that the file you’re delivering to LANDR is the best it can possibly be. This professional touch ensures your music stands shoulder-to-shoulder with major label releases, giving your artistic vision the high-quality sound it deserves.

    Before you hit “Submit” on your next LANDR release, give your music the professional polish it needs.

  • Uploading Your Music to Too Lost – What To Know

    Too Lost offers independent artists a direct and powerful route to over 450 streaming services, but a successful release starts with a flawless upload.

    This guide covers the essential steps for Too Lost’s upload process, the technical specs you need, and how to prepare your track for a professional release.

    1. Get Your Assets Ready Before you start, have these three things:

    • Your final mastered audio file (WAV or FLAC).
    • Your square album artwork (3000×3000 pixels).
    • All your metadata (artist name, song title, release date, and songwriter credits).

    2. Create Your Release

    • Basic Info: Enter your Release Title, Type (Single/EP/Album), and Primary Artist(s).
    • Artwork: Upload your 3000×3000 pixel artwork.
    • Release Date: Set this at least 2-4 weeks in the future to allow time for playlist pitching.
    • Details: Add your Genre, Language.
    • Stores & Extras: Your music goes to all 450+ partners by default. Be sure to select extras like YouTube Content ID and Facebook/Instagram delivery.
    • Audio & Splits: Upload your audio file. This is where you can also add collaborators and set royalty splits.
    • Review & Publish: Double-check all your information and submit.

    • Format: WAV (highly recommended).
    • Sample Rate: 44.1 kHz
    • Bit Depth: 24-bit or 16-bit.

    Artwork Requirements

    • Proportion: Square
    • Size: 3000 x 3000 pixels (minimum)
    • Format: JPG or PNG

    Mastering is the final, critical step before distribution. Using Masterchannel before you upload to Too Lost ensures your music sounds professional and competitive.

    Here’s how Masterchannel optimizes your music for a global release via Too Lost:

    • Tailored for Streaming: Masterchannel’s AI-powered mastering is specifically designed with streaming platforms in mind. It optimizes your track’s loudness to the standards of services like Spotify and Apple Music, ensuring your song sounds consistently great everywhere without triggering their loudness normalization penalties.

    • Preserving Quality, Enhancing Power: You can upload your high-resolution audio file (e.g., 24-bit, 44.1kHz WAV) to Masterchannel and receive a professionally mastered file back with the same specifications. For instance, if you provide a 24-bit file, Masterchannel will deliver a mastered 24-bit file, allowing you to upload the highest possible quality to Too Lost. This process enhances the clarity, punch, and overall impact of your track while preserving its technical integrity.

    • Unleash Your Sonic Potential: The mastering process isn’t just about volume. Masterchannel analyzes and enhances the entire frequency spectrum, improves stereo width, and manages the dynamic range to make your music feel more alive and engaging for the listener.

    • Confidence in Your Release: By mastering with Masterchannel, you can be confident that the file you’re delivering to Too Lost is the best it can possibly be. This professional touch ensures your music stands shoulder-to-shoulder with major label releases, giving your artistic vision the high-quality sound it deserves.

    Before you hit “Publish,” give your music the professional polish it needs.

  • Update on Audio File Exports from Masterchannel

    We’ve rolled out a new update to standardize and improve our file processing. Here’s the main takeaway: all processed files are now returned as a Lossless WAV file.

    We made this change to provide a consistent, high-quality, and professional-grade format for all users. Here’s a quick breakdown of how the resolution of your new WAV file is determined.

    Our system is designed to give you the best possible quality by matching your original file’s specifications. The final sample rate and bit depth of your WAV file will depend on the properties of the file you upload.


    We check your input file’s sample rate to decide the output rate.

    • If your input is a standard rate (44.1, 48, 88.2, 96, 172.4, or 192 kHz), your output WAV will have the exact same sample rate.
    • If your input is any other rate, the output WAV will default to 44.1 kHz.

    The output bit depth depends on your original file type:

    • For Lossless Files (e.g., WAV, AIFF, FLAC): The bit depth will match your original file (e.g., 16-bit, 24-bit, or 32-bit).
    • For Lossy Files (e.g., MP3, M4A, OGG): The output bit depth will always be 24-bit.


    So, what happens if you upload a typical MP3?

    1. An MP3 is a lossy file, so the output bit depth automatically becomes 24-bit.
    2. The sample rate of your MP3 file will be matched if it’s 44.1, 48, 88.2, 96, 172.4 or 192 kHz, otherwise it defaults to 44.1 kHz.

    This means most lossy files will result in a 44.1 kHz / 24-bit WAV file, ensuring you always get a high-quality, standard-format output, which is ideal for distribution. If you want your song to be converted back to MP3, we recommend converting it using a third party software like Cloudconvert.

    This approach will provide you with the best balance of quality and consistency for your songs.

  • Why you should use WAV, not an MP3, when mastering your song

    Mastering is the final, critical stage of quality control. It’s the process of taking your mix and making it sound professional, polished, and loud enough for release. But the quality of your final master is dependent on the quality of the file you start with.

    This brings us to one of the most important file choice you’ll make: MP3 or WAV?

    The difference is simple, but the impact can be big:

    • An MP3 is a “lossy” file. To achieve a small file size, it uses compression that permanently deletes audio data. Think of it as a low-resolution, compressed JPEG.
    • A WAV is a “lossless” file. It is the full, uncompressed, original studio-quality file. It’s the high-resolution “RAW photo” of your music.

    You can’t master what isn’t there. If you start with an MP3, you’re starting with a file that already has missing frequencies and digital “artifacts” (e.g that ‘swishy’ sound on cymbals).

    The mastering process, which adds brightness and compression, will only exaggerate these flaws.

    Our AI mastering engine is built to perform a deep, surgical analysis of your audio.

    When you upload a WAV file, you give our AI the complete, accurate dataset. It analyzes the real music you created, allowing it to make intelligent, precise adjustments to the full frequency spectrum and dynamic range.

    When you upload an MP3 file, you are forcing our AI to work with compromised data. It’s trying to polish a file that already has data missing.

    This quality chain continues to distribution. Streaming services like Spotify and Apple Music require a high-quality (lossless) file. If you master an MP3, your entire professional release is based on a low-quality, “lossy” foundation.

    While Masterchannel accepts both formats, we always encourage you to upload a WAV file for the best possible result.

    You’ve worked hard on your mix. Give it the best possible foundation for a professional master. Upload a WAV and let our AI work with the full quality your music deserves.

  • Masterchannel Just Got a Major Upgrade: A Faster, Smoother Experience Awaits!

    Our mission has always been to provide the best AI mastering service available. You’ll still get the same professional-quality results for your tracks, but we’ve now rolled out some huge improvements to the platform. Here’s what’s new:

    We’ve completely overhauled our player component. It’s not just sleeker—it’s more powerful and intuitive.

    • Album & EP Mastering: In your account page, you can now drag and drop your entire album or EP for that final, consistent touch.
    • Easy Drag & Drop: Uploading your track is as simple as dragging and dropping it onto the new player to have it optimized by our award-winning AI.
    • Mastering Insights: We’ve added more information so you can better understand exactly how our service is enhancing your song.

    The entire Masterchannel experience now feels faster. Thanks to this major update, navigating from one page to another takes less time than ever. Your workflow shouldn’t have to wait.

    We’ve increased our flexibility to fit your workflow. Masterchannel now accepts an even wider range of file formats, including WAV, AIFF, MP3, M4A, Ogg, and more.


    This is just the first of many updates planned to improve your experience. Log in to check out the new features today!

    If you have any questions or comments to our new updates, don’t hesitate to reach out to us via email support@masterchannel.ai or through our chat at https://masterchannel.ai.

  • How to Easily Master Your Suno Tracks for Pro Quality

    If you’ve spent any time creating music on Suno, you’ve probably felt the excitement of actually generating a track. You’ve also likely felt the frustration that comes next: how do you make it sound more professional?

    A recent Reddit thread in r/SunoAI captured this perfectly, with users sharing their struggles trying to master their songs. They’re diving into software like Ableton and iZotope Ozone, battling with the complexity of these, only to end up with tracks that sound “muddy, squashed, or distorted.”

    It’s a common problem. You didn’t get into creating AI music to become a professional mastering engineer, but you still want your music to sound good, clear, and loud enough.

    If this sounds like you, there’s a simpler solution. 💡

    Instead of getting lost in a sea of plugins, you can use Masterchannel to master and remaster your Suno tracks. It’s an AI-powered mastering service designed to take your exported track and give it the final polish it needs for enhanced audio quality.

    Masterchannel streamlines the complex process that has so many Suno users frustrated. It analyzes your track and applies professional-grade mastering to improve clarity, depth, and loudness, giving you a great sounding song without the steep learning curve.

    Test it out by clicking the button down below 👇

  • Uploading Music to Distrokid – What to know

    DistroKid has revolutionized music distribution for independent artists, offering a fast and straightforward way to get your tracks onto major streaming services like Spotify, Apple Music, and Tidal. But to make the most of this powerful platform, it’s crucial to get your upload right from the start.


    This guide will walk you through DistroKid’s upload process, detail the essential technical specs, and explain how Masterchannel can give your music the professional polish it needs to shine.

    DistroKid is known for its user-friendly interface. Here’s a step-by-step breakdown of what to expect when you’re ready to release your music.

    1. Prepare Your Assets: Before you begin the upload, have everything ready to go:

      • The Mastered Audio File: This should be the final, highest-quality version of your song. You can master your song here.

      • Square Album Artwork: Your artwork needs to be high-resolution and meet specific formatting requirements.

      • Complete Metadata: This includes your artist name, song title, release date, genre, songwriter credits, and any featured artists. Accuracy here is key for proper crediting and royalty payments.

    2. Log In and Click “Upload”: Once in your DistroKid account, the “Upload” section is your starting point.

    3. Choose Your Services: Select all the streaming platforms and online stores where you want your music to be available. DistroKid distributes to over 150 partners, so you have a wide reach.

    4. Enter Your Release Information: This is where you’ll input all the metadata you prepared.

      • Artist/Band Name: Ensure this is consistent with your existing profiles on services like Spotify and Apple Music.

      • Release Date: You can set a future release date, which is highly recommended to allow time for playlist pitching.

      • Song Title and Songwriter Info: Double-check spelling and crediting. This is crucial for publishing royalties.

      • Artwork: Upload your artwork file. DistroKid’s uploader will alert you if it doesn’t meet their size and resolution requirements (ideally 3000×3000 pixels).

    5. Upload Your Audio File: Drag and drop your final audio file. This is where the technical quality of your track matters most.

    6. Select Your “Extras”: DistroKid offers several add-ons, such as the option to have your music discovered by Shazam or to get a YouTube Content ID.

    7. Review and Submit: Carefully look over all the details of your submission. Once you’re confident everything is correct, hit “Done” and DistroKid will begin the process of sending your music to the selected services.

    To ensure your music sounds its best across all platforms, DistroKid recommends you upload high-quality audio files. While they can accept various formats, following their guidelines will prevent any unwanted conversions or loss in quality.

    • File Format: It is highly recommended to upload in an uncompressed format. The best options are WAV or FLAC. While you can upload MP3s, they are not ideal as they are compressed (lossy) formats.

    • Sample Rate: The industry standard and recommended sample rate is 44.1 kHz.

    • Bit Depth: A 16-bit or 24-bit file is ideal. Uploading in 24-bit provides higher resolution audio, which is beneficial as streaming services are increasingly supporting higher-fidelity sound.

    DistroKid takes your high-quality file and transcodes it into the specific formats required by each streaming service (like AAC for Apple Music and Ogg Vorbis for Spotify). Providing them with the best possible source file is the single most important factor in how your music will sound to your listeners.

    Mastering is the final, critical step before distribution. It ensures your song has a professional, polished sound that is balanced, clear, and loud enough to compete with other commercial releases. Using Masterchannel before you upload to DistroKid can make a significant difference.

    Here’s how Masterchannel optimizes your music for a global release via DistroKid:

    1. Tailored for Streaming: Masterchannel’s AI-powered mastering is specifically designed with streaming platforms in mind. It optimizes your track’s loudness to the standards of services like Spotify and Apple Music, ensuring your song sounds consistently great everywhere without triggering their loudness normalization penalties.

    2. Preserving Quality, Enhancing Power: You can upload your high-resolution audio file (e.g., 24-bit, 44.1kHz WAV) to Masterchannel and receive a professionally mastered file back with the same specifications. For instance, if you provide a 24-bit file, Masterchannel will deliver a mastered 24-bit file, allowing you to upload the highest possible quality to DistroKid. This process enhances the clarity, punch, and overall impact of your track while preserving its technical integrity.

    3. Unleash Your Sonic Potential: The mastering process isn’t just about volume. Masterchannel analyzes and enhances the entire frequency spectrum, improves stereo width, and manages the dynamic range to make your music feel more alive and engaging for the listener.

    4. Confidence in Your Release: By mastering with Masterchannel, you can be confident that the file you’re delivering to DistroKid is the best it can possibly be. This professional touch ensures your music stands shoulder-to-shoulder with major label releases, giving your artistic vision the high-quality sound it deserves.


    Before you hit “Upload” on your next DistroKid release, give your music the final polish it needs. A professional master is not just a technical step; it’s an investment in your art.

  • Uploading Music to CD Baby – What to know

    CD Baby has long been a cornerstone for independent artists, providing a powerful platform to distribute music to a global audience. But to truly leverage its reach, a simple upload isn’t enough. This guide will walk you through the essential steps for uploading to CD Baby and reveal how Masterchannel can ensure your music is perfectly primed for distribution.

    Uploading your music to CD Baby is a straightforward process, but attention to detail is paramount.

    1. Get Your Assets in Order: Before you even log in to your CD Baby account, make sure you have everything you need:

      • The Final Mastered Audio: Your song should be mixed and mastered, ready for the world to hear. You can do this here.

      • High-Resolution Artwork: Your cover art is the visual face of your music.

      • Metadata: This includes your artist name, song title, genre, songwriter credits, and any other relevant information.

    2. Initiate Your Release: Once logged in, you’ll start a new submission for a single or an album.

    3. Enter Your Metadata with Precision: This is a critical step for search engine optimization (SEO) and ensuring you get paid correctly.

      • Artist and Song Titles: Ensure these are accurate and consistent across all platforms.

      • Genre and Subgenre: Choose the most fitting genres to help new fans discover your music.

      • Songwriter and Contributor Credits: Accurately credit everyone involved in the creation of your song.

    4. Upload Your Audio: This is where the technical specifications come into play. You’ll upload your mastered audio file for each track.

    5. Upload Your Artwork: Your artwork must meet CD Baby’s specific requirements to avoid any delays in your release.

    6. Choose Your Distribution Partners: Select the streaming platforms and online stores where you want your music to be available.

    7. Review and Submit: Double-check all the information you’ve entered before finalizing your submission.

    CD Baby has specific technical requirements for audio files to ensure consistency and quality across all their partner platforms. Adhering to these is non-negotiable for a successful release.

    • File Format: CD Baby prefers uncompressed, high-quality audio formats. Your best options are WAV, FLAC, or AIFF.

    • Sample Rate: The required sample rate is 44.1 kHz. This is the standard for audio CDs and is widely used for digital distribution.

    • Bit Depth: Your audio file must be either 24 or 16-bit.

    It’s important to note that even if you upload a 24-bit file, CD Baby will convert it to 16-bit. To ensure the highest possible audio quality during this conversion, a process called dithering is crucial.

    This is where a professional mastering service like Masterchannel becomes an invaluable asset. Mastering is the final step in the audio production process, preparing your track for distribution by optimizing its loudness, dynamics, and overall tonal balance.

    Here’s how Masterchannel specifically streamlines and enhances the process of preparing your music for CD Baby:

    • Professional Sound, Optimized for Distribution: Masterchannel’s advanced AI mastering engine analyzes your track and applies a customized mastering chain to make it sound polished and competitive. This ensures your music stands out in playlists and sounds great on any listening device.

    • Seamless Adherence to Technical Specs: The beauty of using Masterchannel is that it takes the guesswork out of meeting CD Baby’s technical requirements. If you upload a 44.1kHz, 16-bit WAV file to be mastered, Masterchannel will deliver back a professionally mastered 44.1kHz, 16-bit WAV file. You get a significant enhancement in audio quality without having to worry about altering the core technical specifications that CD Baby requires.

    • Expert Dithering for Superior Quality: If you’re working with a higher bit-depth file (like 24-bit), downsampling to 16-bit for CD Baby is a necessary step. Masterchannel’s mastering process includes professional-grade dithering, which intelligently adds a very low level of noise to mask any artifacts that can occur during bit-depth reduction. This results in a cleaner, more transparent 16-bit file than a standard file conversion.

    • Competitive Loudness without Sacrificing Dynamics: Masterchannel ensures your track is mastered to a commercially competitive loudness, so it won’t sound quiet next to other professionally released songs. Crucially, this is achieved while preserving the dynamic range of your music, avoiding the “squashed” sound of over-compression.

    By integrating Masterchannel into your workflow, you can be confident that the audio file you upload to CD Baby is not only technically compliant but also sonically superior. This attention to detail can make a significant difference in how your music is perceived by listeners, playlist curators, and industry professionals. Don’t just release your music; give it the professional edge it deserves.

Exit mobile version